Intercepting Thick Client Applications with Burp Suite: A Comprehensive Guide

Introduction
Intercepting thick client applications using Burp Suite can be a challenging yet essential task for security assessments. This guide will walk you through the process step-by-step, ensuring you can effectively set up and utilize Burp Suite for your thick client application testing. We’ll cover certificate installation, proxy configuration, and setting up ProxyCap to route traffic through Burp Suite.
Burp Suite Certificate Installation as a Trusted Root Certification
Installing the Burp Suite certificate as a trusted root certification in Windows is crucial because it allows Burp Suite to intercept and decrypt HTTPS traffic from thick client applications, facilitating a thorough security assessment.
Steps to Install the Certificate
- Go to Burp Suite Proxy Settings
Navigate to the proxy settings in Burp Suite and choose the option to import/export the CA certificate.

2. Select Certificate in DER Format
Choose the certificate in DER format and save it with a .cer extension, as Windows supports this format.

3. Export the Certificate
Click next, and the certificate will be exported to your chosen location.

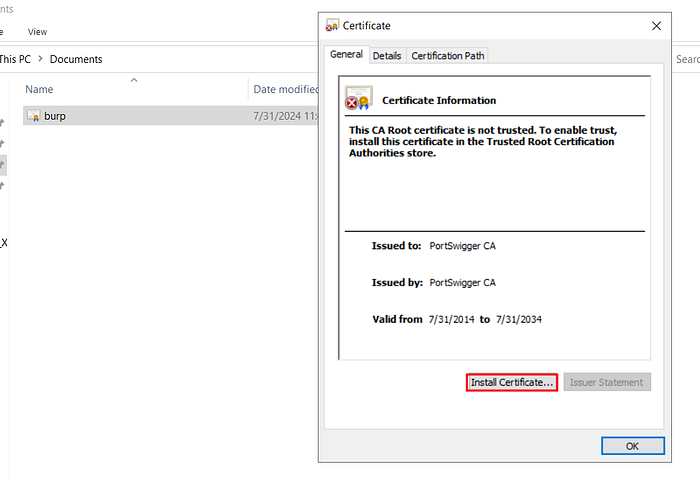
4. Install the CertificateGo to the location where you saved the certificate, open it, and click on “Install Certificate.”
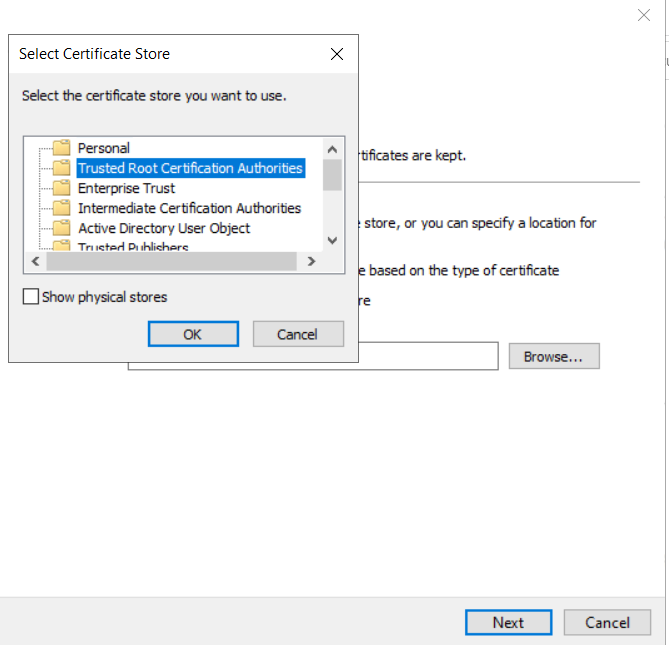
5. Select Certificate Store
Choose the “Trusted Root Certificate Authorities” store for the installation.
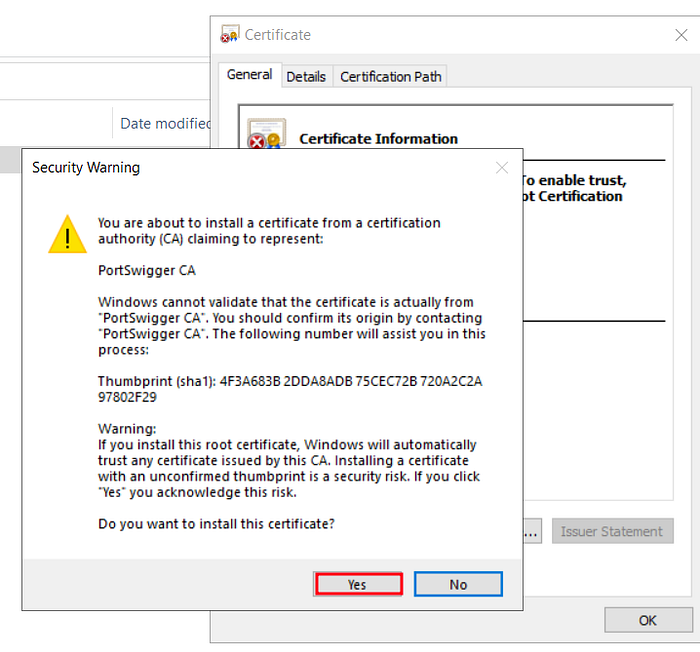
6. Confirm the Installation
When prompted with a warning, click “Yes” to complete the installation.
Setting Up ProxyCap for Burp Suite
Download and Install ProxyCap
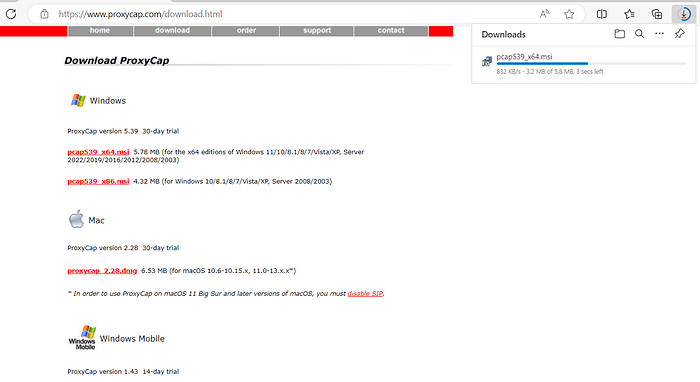
- Download ProxyCap
Download ProxyCap from here and install it.
Configuring Burp Suite Proxy Settings
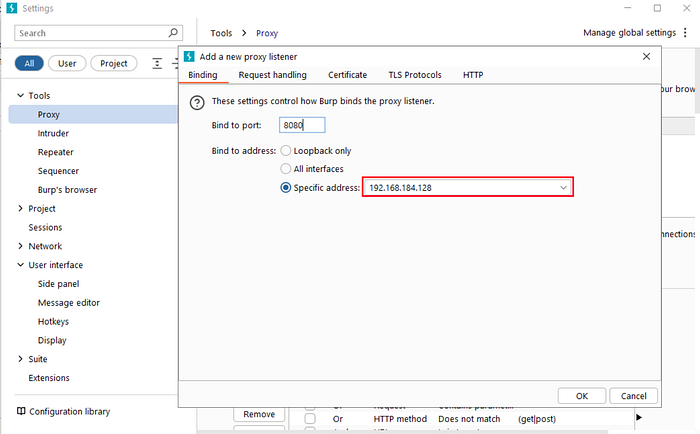
- Add Proxy Listener in Burp Suite
Go to Burp Suite proxy settings and add a proxy listener. Assign an IP and port (this will vary based on your setup). Enable the invisible proxy option as it helps in intercepting traffic from applications that do not explicitly support proxy settings.

Configuring ProxyCap
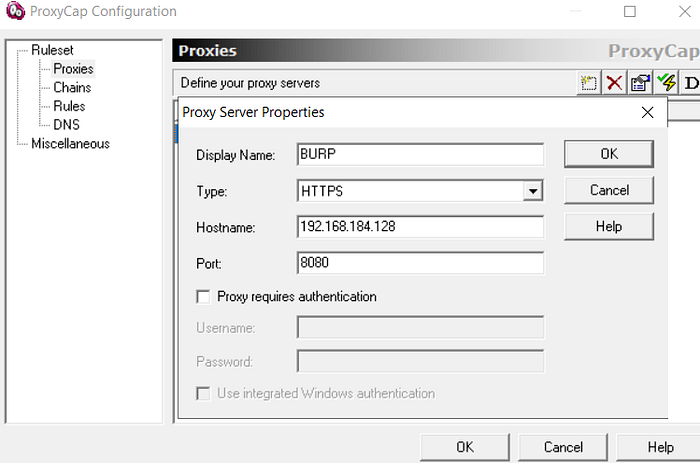
- Add Proxy Server Properties in ProxyCap
Open ProxyCap configuration and add the proxy server properties. Use the Burp Suite IP and port assigned in the previous step.
2. Set Rule Action in ProxyCap
Go to “Quick Add Rule,” set the Rule Action to the name you assigned (e.g., BURP). You can set application-specific ports, but for this guide, we will capture all TCP traffic. Set the Destination Port Range to “Not restricted.”
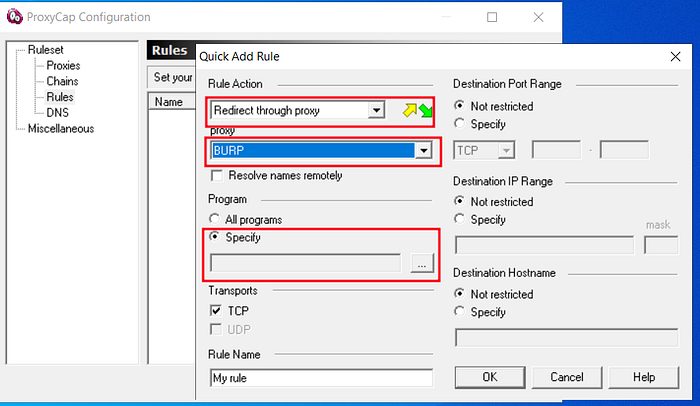
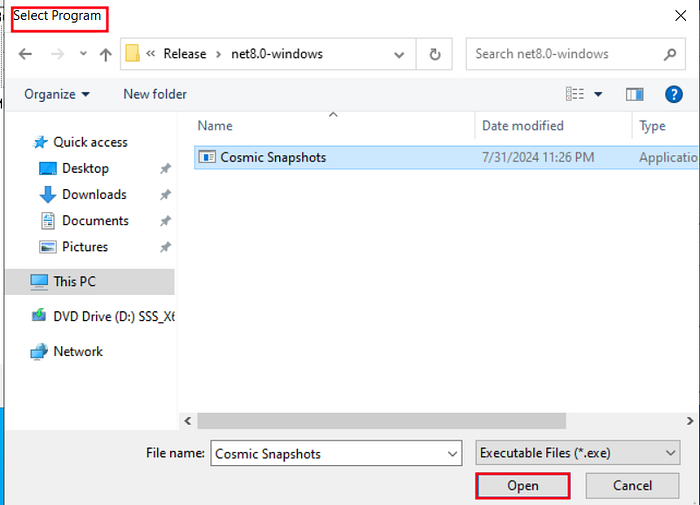
3. Specify Application Executable
In the program section, select the executable file of the application you want to intercept. For example, I am using the Cosmic Snapshots app, which you can download from here. If using the Cosmic Snapshots application, provide the path to “Cosmic Snapshots.exe.”
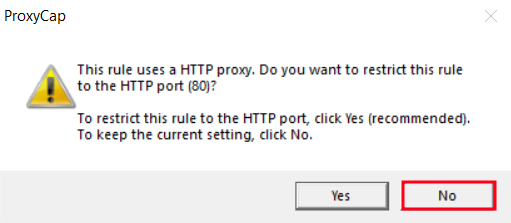
4. Restrict Rule to HTTP Port
When prompted, click “No” to apply the rule to all ports.
Final Steps
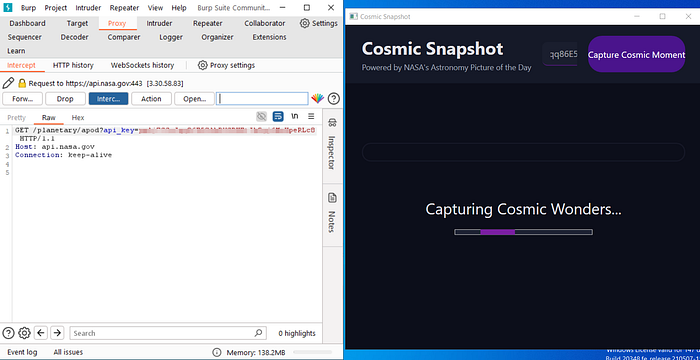
- Send Request to Server
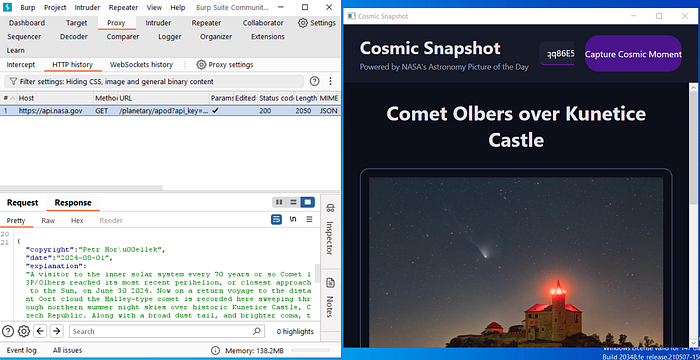
Perform an action in the application that sends a request to the server, such as capturing a moment in the Cosmic Snapshots application. You should see the request in Burp Suite, confirming that traffic is routed correctly.
2. Perform Your Penetration Testing
With everything set up, you can now perform your penetration testing tasks using Burp Suite.
Conclusion
All setup is complete, and you are now ready to intercept traffic from thick client applications using Burp Suite. This guide should help streamline the process and ensure you have all the necessary configurations in place.
Additional Resources
For another method, you can refer to my old blog here.
Thank you for reading. I hope this guide assists you during your security assessments. Happy testing!